If you spend a lot of time at your desk, a monitor stand can make a big difference in your comfort and productivity. By elevating your screen to eye level, you can reduce neck and eye strain, and create more space on your desk. Here’s how to install and set up your new monitor stand.
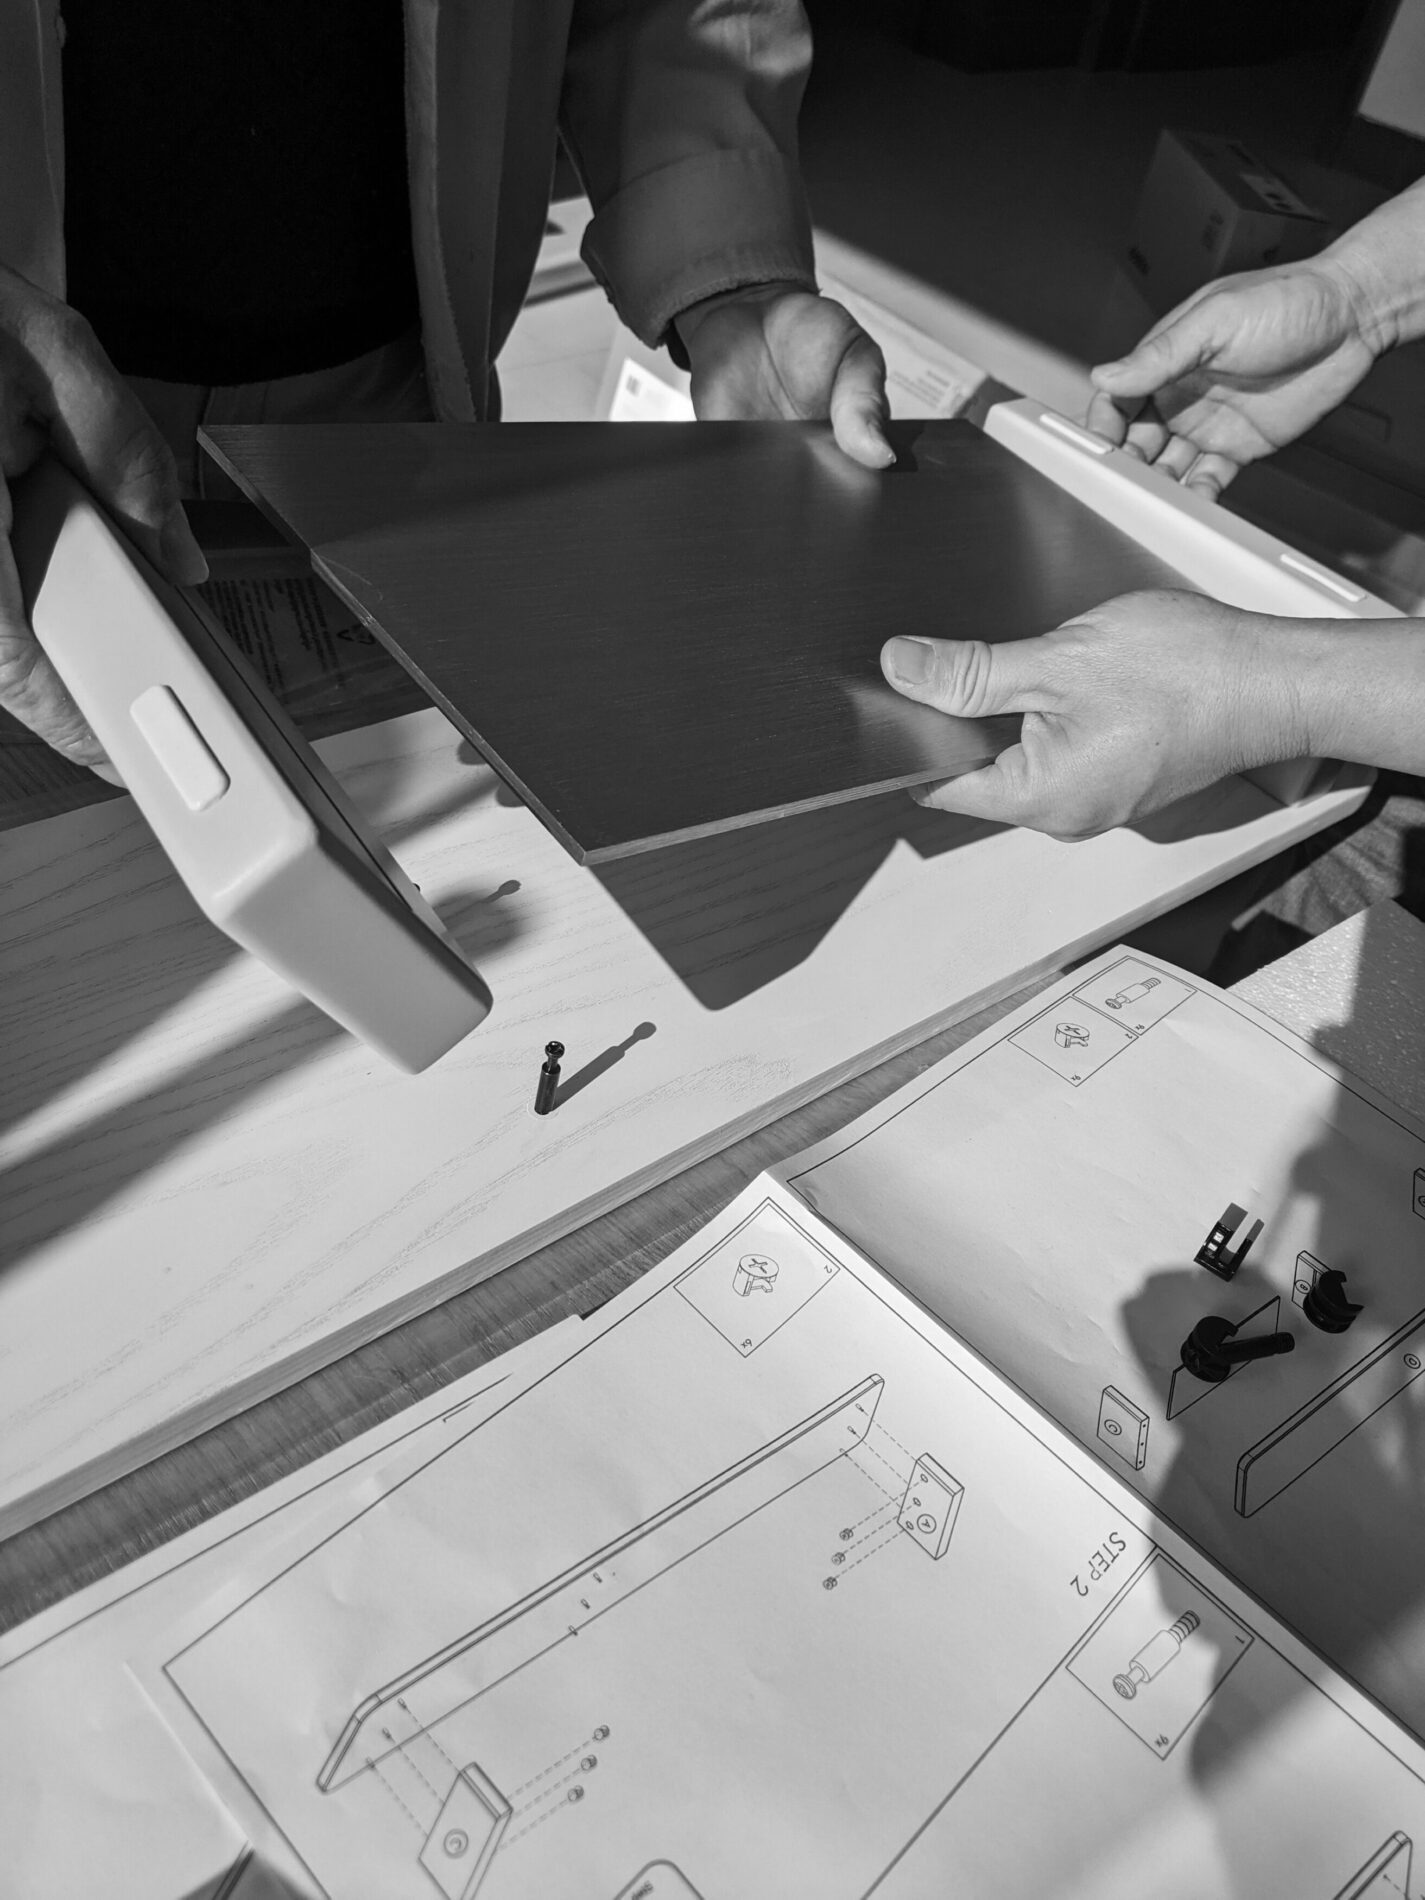
Gather Your Tools and Materials.
Before you begin installing your monitor stand, make sure you have all the necessary tools and materials. You will need a screwdriver, screws, and any other hardware that came with your monitor stand. It’s also a good idea to have a level and measuring tape on hand to ensure your stand is installed straight and at the correct height. Once you have everything you need, you’re ready to get started.
Assemble the Monitor Stand.
The first step in installing your monitor stand is to assemble it. Lay out all the pieces and make sure you have everything you need. Follow the instructions provided with your stand to put it together. This may involve attaching the base, arms, and brackets. Make sure all screws are tightened securely. Once your stand is assembled, you’re ready to move on to the next step.
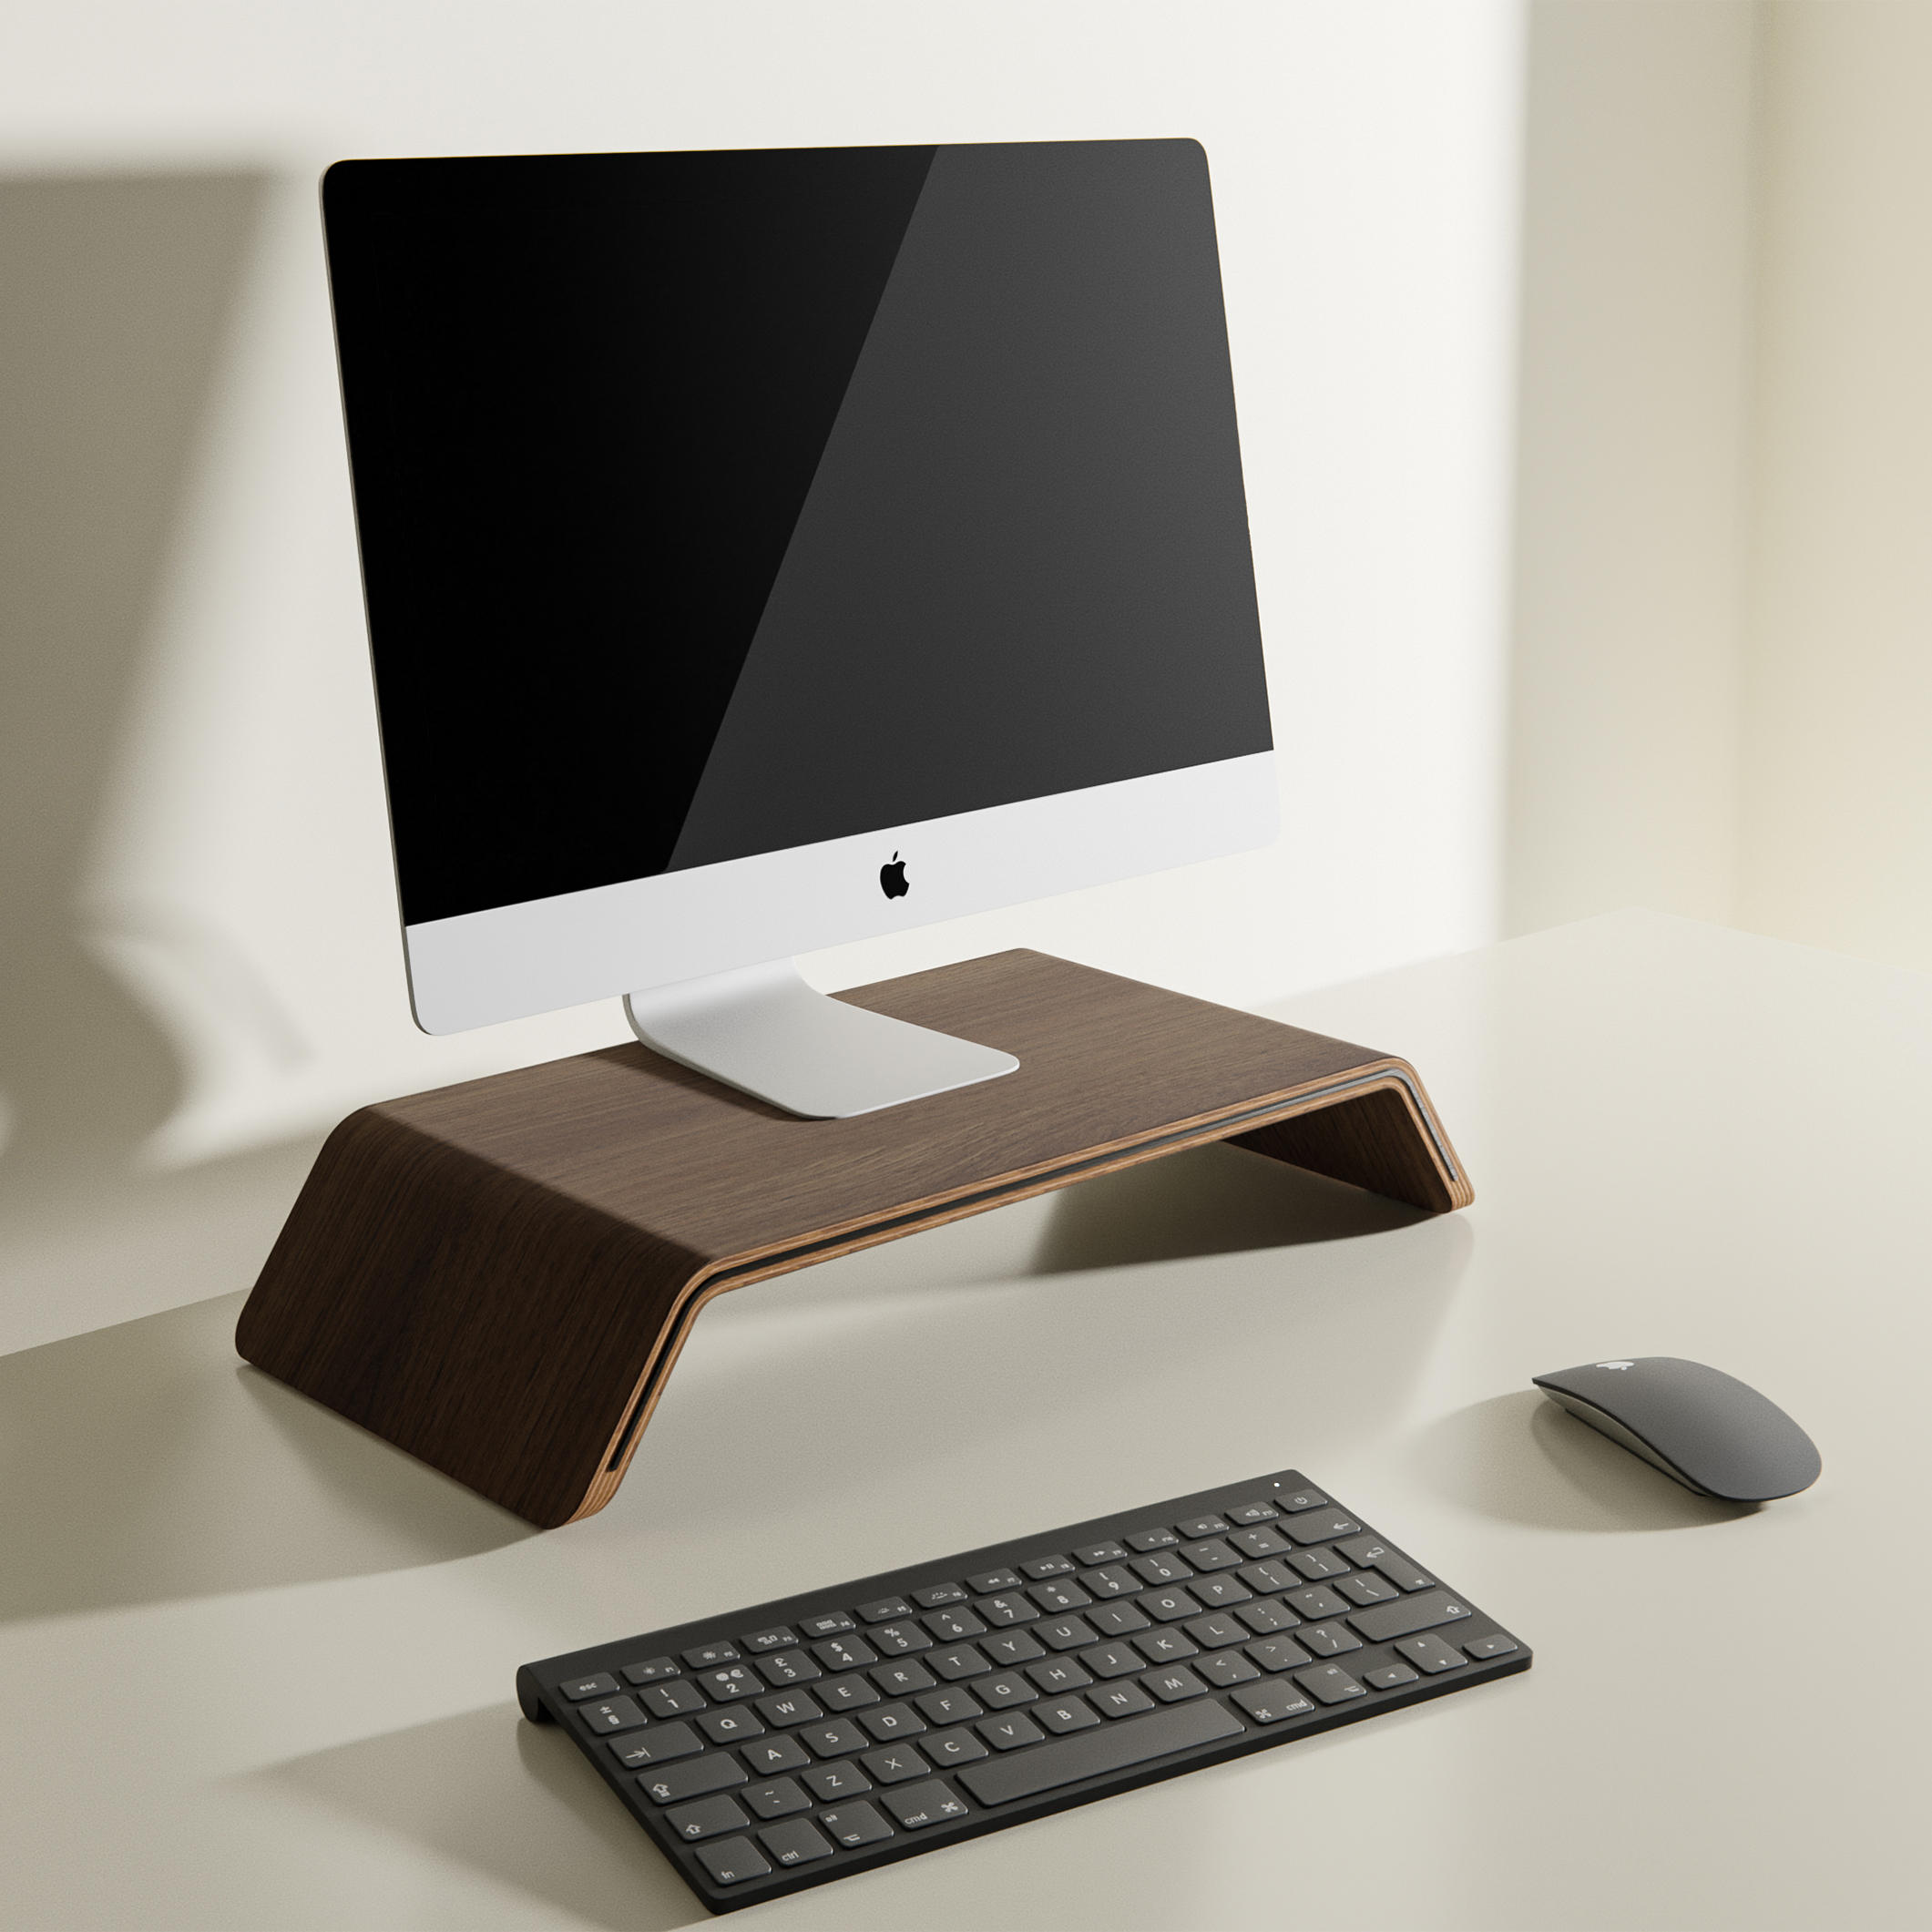
Adjust the Height and Angle of Your Monitor.
Once your monitor stand is installed, it’s important to adjust the height and angle of your monitor for maximum comfort and productivity. The top of your monitor should be at or slightly below eye level, and the screen should be tilted slightly upward. This helps reduce strain on your neck and eyes. Adjust the height and angle of your monitor by loosening the screws on the brackets and moving the monitor up or down and tilting it forward or backward. Once you have found the perfect position, tighten the screws to secure the monitor in place.

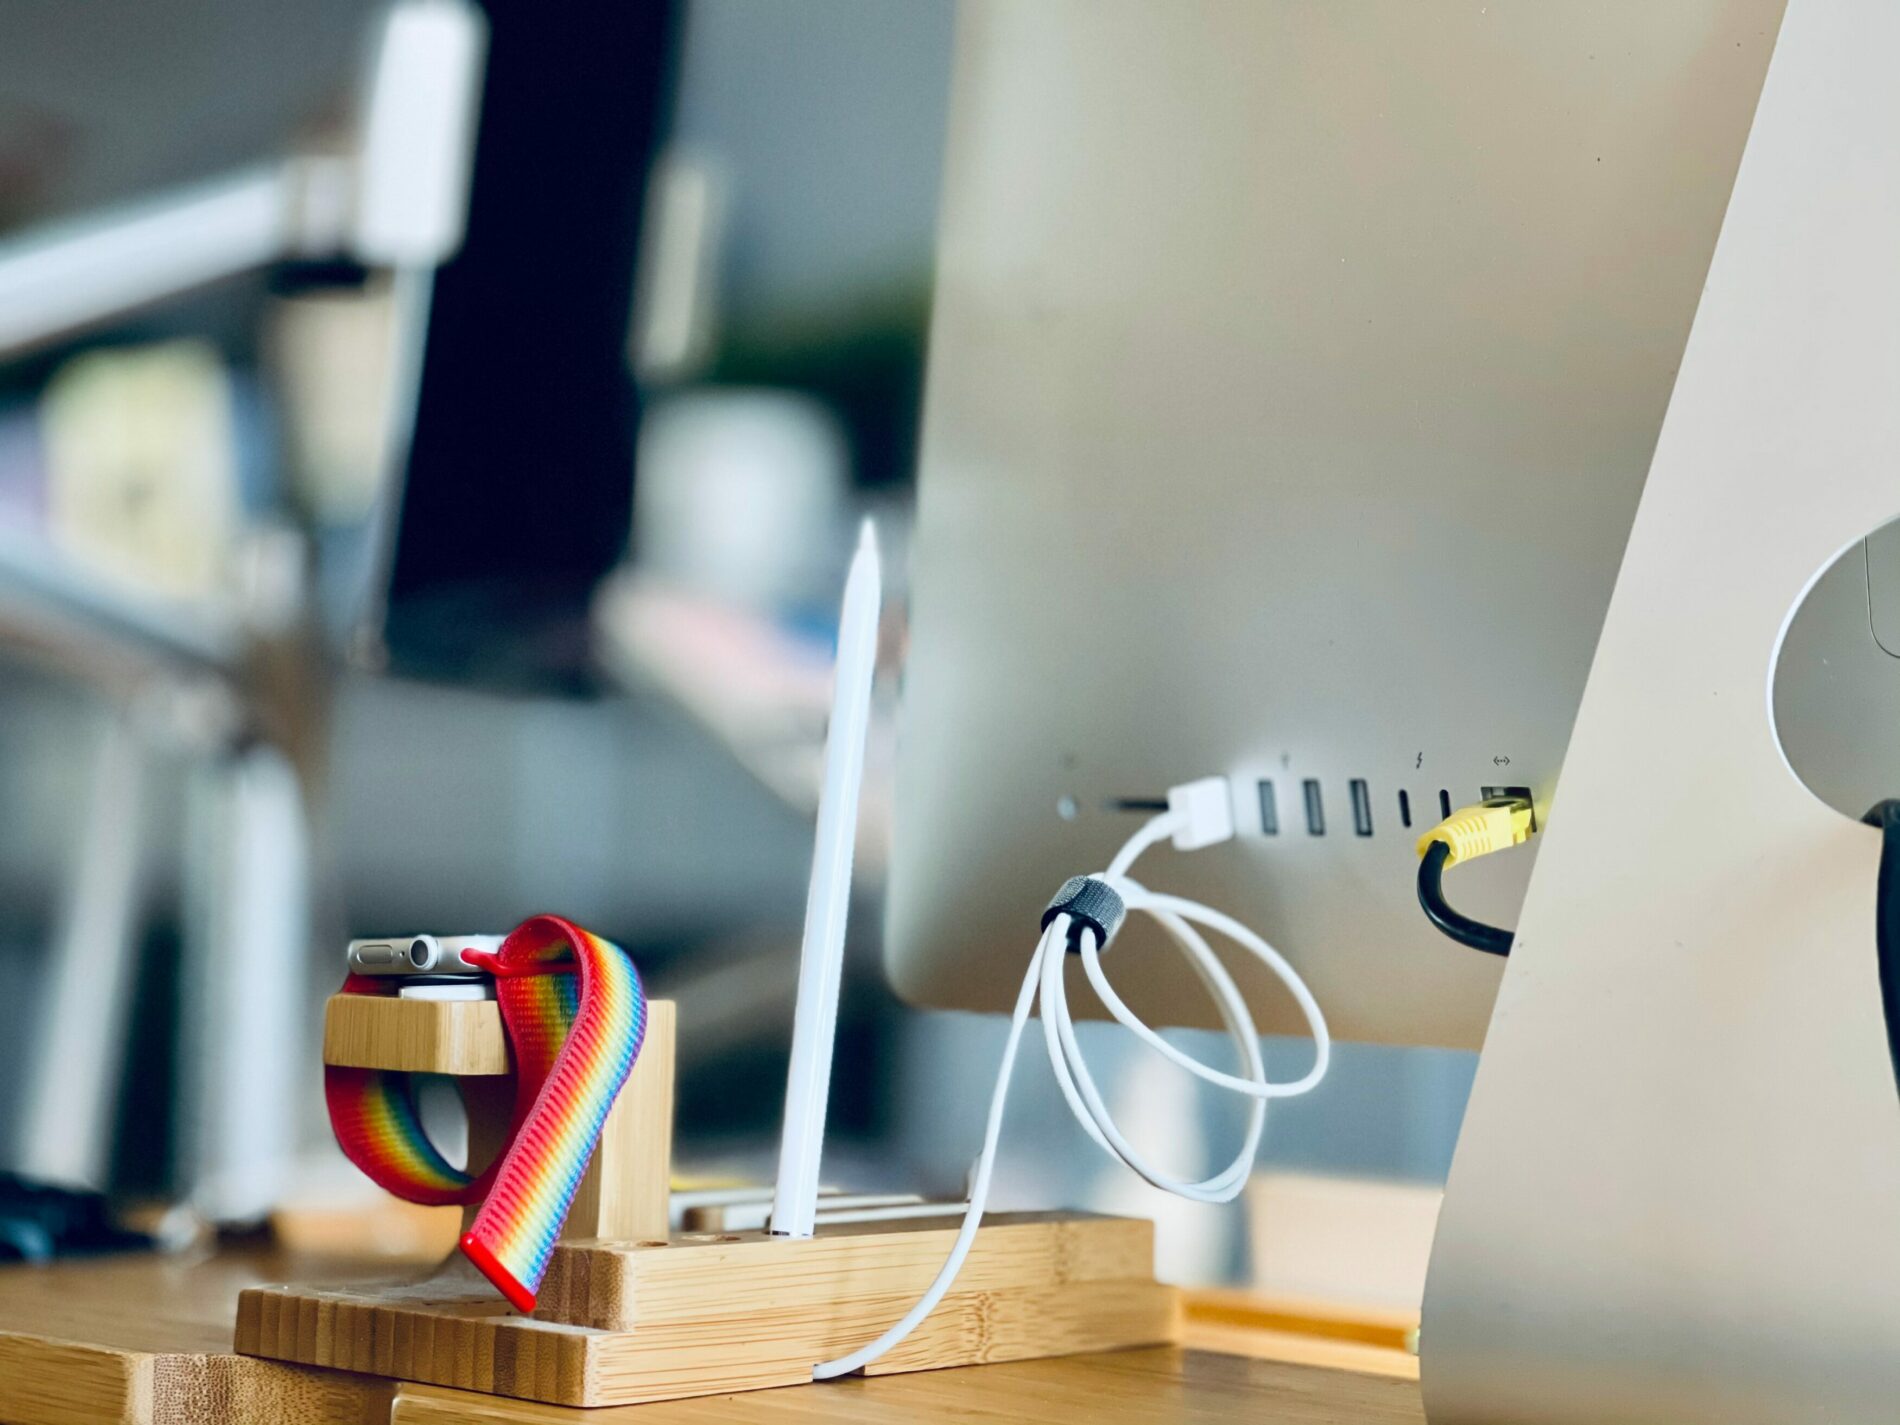
Organize Your Cables.
Before you start installing your monitor stand, take a few minutes to organize your cables. This will make the installation process much easier and prevent any potential damage to your cables. Start by unplugging all cables from your monitor and computer. Then, use cable ties or Velcro straps to bundle the cables together. You can also use cable clips or adhesive cable holders to keep the cables in place. Once your cables are organized, you can begin installing your monitor stand with ease.
Test Your Setup and Make Adjustments as Needed.
Once you have installed your monitor stand, it’s important to test your setup and make any necessary adjustments. Start by turning on your computer and monitor to ensure that everything is working properly. Then, sit in your chair and adjust the height and angle of your monitor to find the most comfortable and ergonomic position. You may also need to adjust the height of your chair or desk to achieve the best viewing angle. Remember, the goal is to reduce strain on your neck, shoulders, and eyes, so take the time to find the perfect setup for your needs.
After testing your setup, you may find that you need to make some additional adjustments to your monitor stand. For example, if you are experiencing glare on your screen, you may need to adjust the angle of your monitor or invest in an anti-glare screen. If you find that your monitor is still too low, you may need to add a riser or adjust the height of your monitor stand. Don’t be afraid to experiment with different setups until you find the one that works best for you. Remember, a comfortable and ergonomic setup can help improve your productivity and reduce the risk of injury.